Installing a WordPress plugin shouldn’t be complicated and with Easy Social Feed, it isn’t. Whether you’re a beginner or an experienced WordPress user, you can get the plugin up and running in just a few minutes.
Here, we’ll walk you step by step through how to install and activate the Easy Social Feed plugin in WordPress, including how to activate the Pro version.
Before You Start
Make sure you have:
- A WordPress website (self-hosted)
- Administrator access to your WordPress dashboard
- A stable internet connection
No technical skills required.
Method 1: Install Easy Social Feed (Free Version) from WordPress Plugin Directory
This is the most recommended way to get started.
Step 1: Log in to Your WordPress Dashboard
Go to:
yourwebsite.com/wp-adminEnter your login credentials to access the admin panel.
Step 2: Navigate to Plugins → Add New
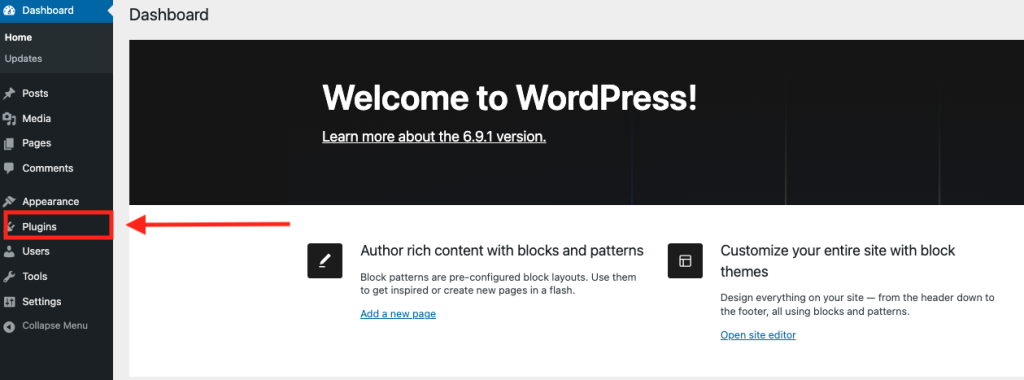
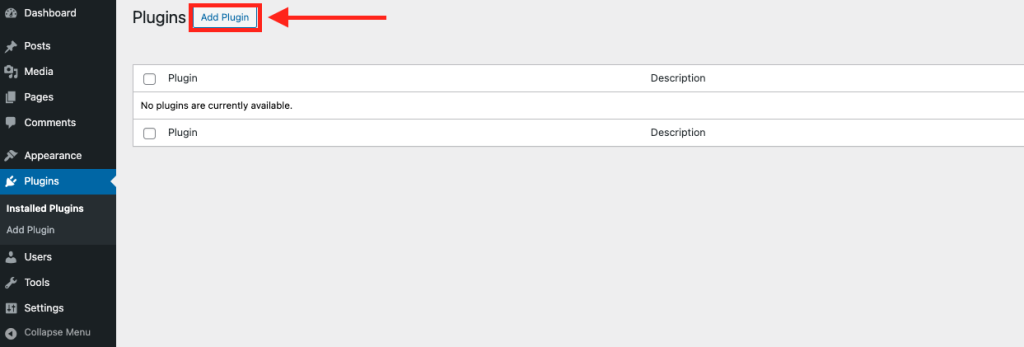
From the left sidebar:
- Click Plugins
- Select Add Plugin
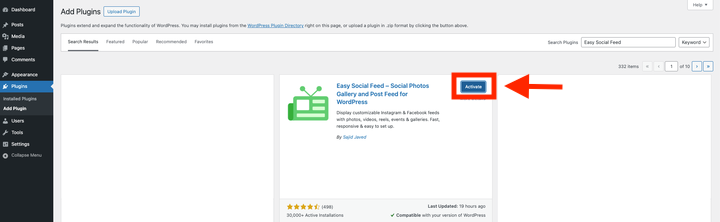
Step 3: Search for “Easy Social Feed”
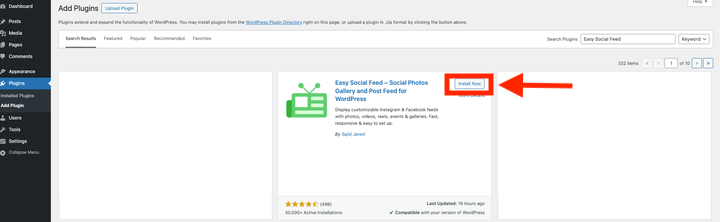
In the search box (top right), type:
Easy Social Feed
Step 4: Install the Plugin
- Click Install Now
- Wait a few seconds for the installation to complete
Step 5: Activate the Plugin
- Click Activate
The free version of Easy Social Feed is now active on your website.
Method 2: Activate Easy Social Feed Pro Version
If you’ve upgraded to Easy Social Feed Pro, follow these steps to activate premium features.
Step 1: Download the Pro Plugin
- Log in to your Easy Social Feed account
- Download the Pro version ZIP file that you received from the email after purchasing the Pro version.
Step 2: Upload the Pro Plugin in WordPress
In your WordPress dashboard:
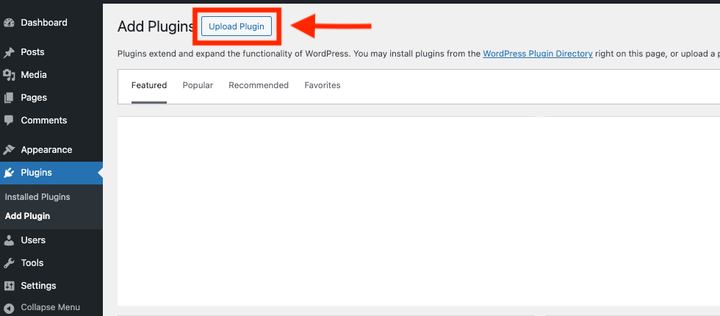
- Go to Plugins → Add Plugin
- Click Upload Plugin
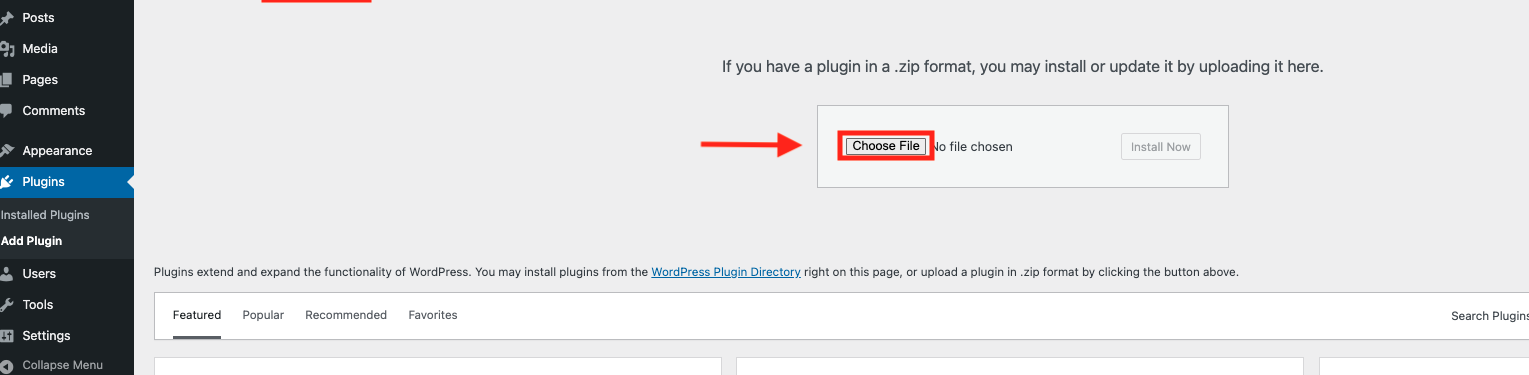
- Choose the Pro ZIP file
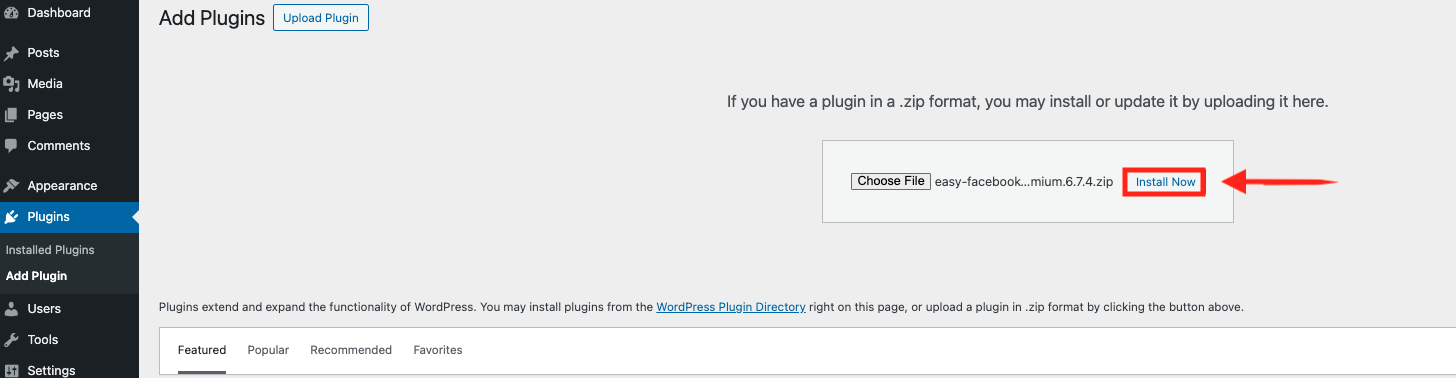
- Click Install Now
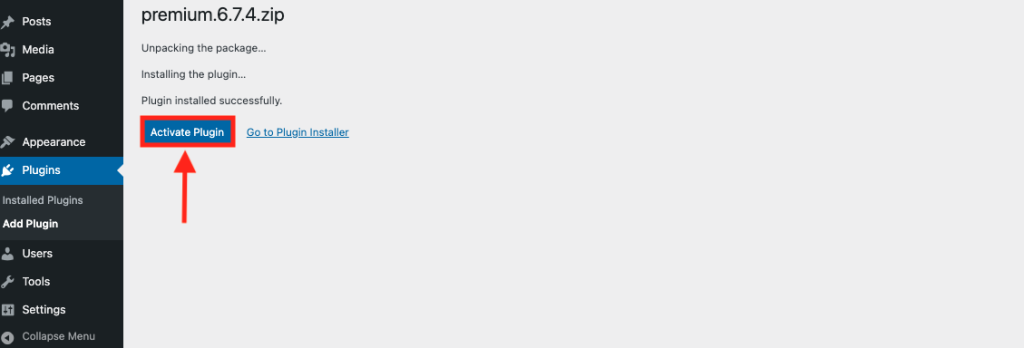
Step 3: Activate the Pro Plugin
Once installed:
- Click Activate Plugin
The Pro version will now be enabled on your website.
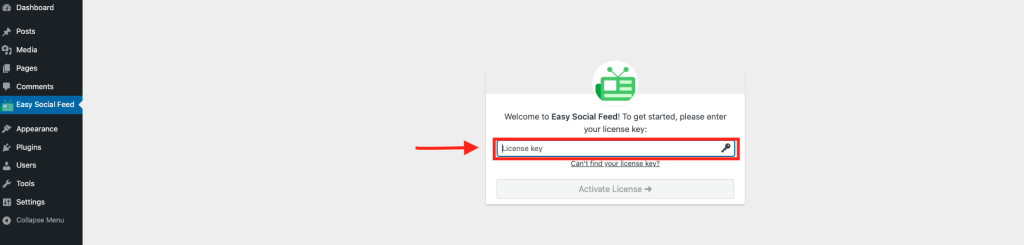
Step 4: Enter Your License Key
To unlock Pro features:
- Go to Easy Social Feed → License
- Paste your license key
- Click Activate License
Once verified, all Pro features will be available.