
After installing and connecting your social accounts, the next step is learning how to navigate the Easy Social Feed dashboard.
This is where you control everything from account connections to feed creation, customization, layouts, performance settings, and more.
In this guide, we’ll walk you through the dashboard step by step so you feel completely confident using the plugin.
Where to Find the Dashboard
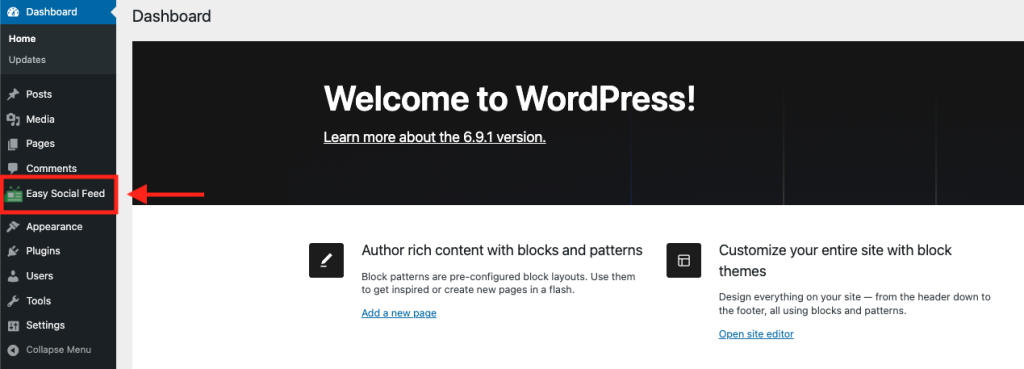
Once the plugin is activated, you’ll see a new menu item in your WordPress admin sidebar:
Easy Social Feed
Clicking this will open the main plugin dashboard.
This is your control center.
Overview of the Dashboard Sections
Depending on whether you’re using the Free or Pro version, you may see additional options. But generally, the dashboard includes the following sections:
- Dashboard / Overview
- Accounts
- Feeds
- Layout & Customization
- Shortcode Generator
- Settings
- License (Pro version)
Let’s understand what each section does.
Dashboard
This is the main screen when you open the plugin.
Here you can usually see:
- Connected social accounts
- Quick feed statistics
- Status indicators
- Important notices
- Quick action buttons
Think of this as your plugin summary page.
It gives you a quick idea of:
- Whether accounts are connected
- If anything needs attention
- What feeds are active
Accounts Section
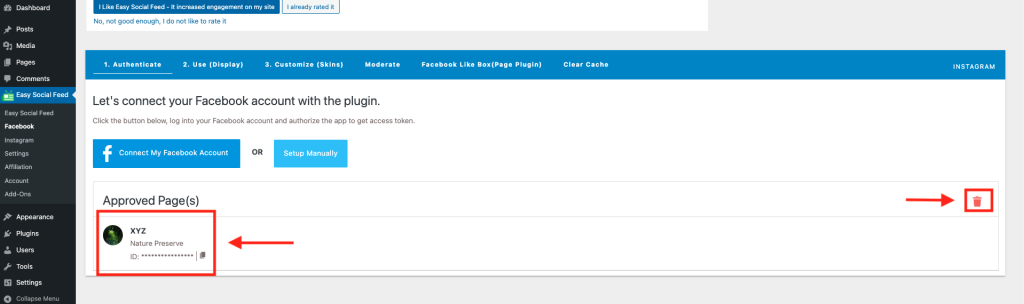
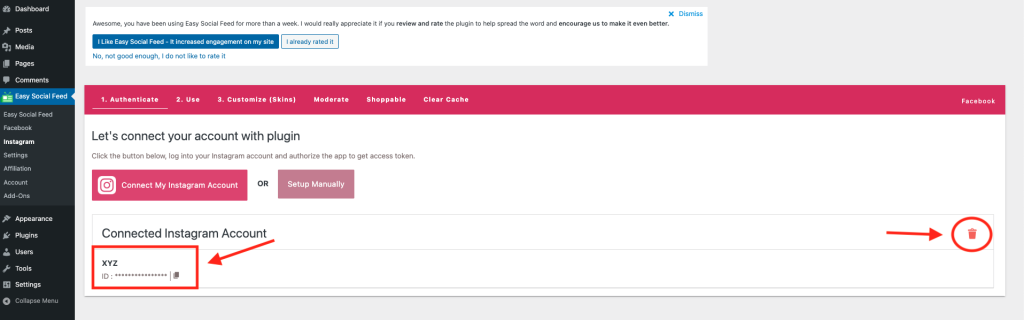
This is where you:
- Connect Facebook accounts
- Connect Instagram accounts
- View connected pages
- Reconnect or disconnect accounts
If you ever experience feed issues, this is the first place you should check.
If the account shows:
Active → Everything is working
Disconnected → You may need to reconnect
Feeds Section
This is where the real magic happens.
In this area, you can:
- Create new social feeds
- Manage existing feeds
- Edit feed settings
- Choose feed types (Facebook, Instagram, etc.)
Each feed you create can have its own:
- Layout
- Style
- Display settings
- Filters (Pro)
You can create multiple feeds for different pages of your website.
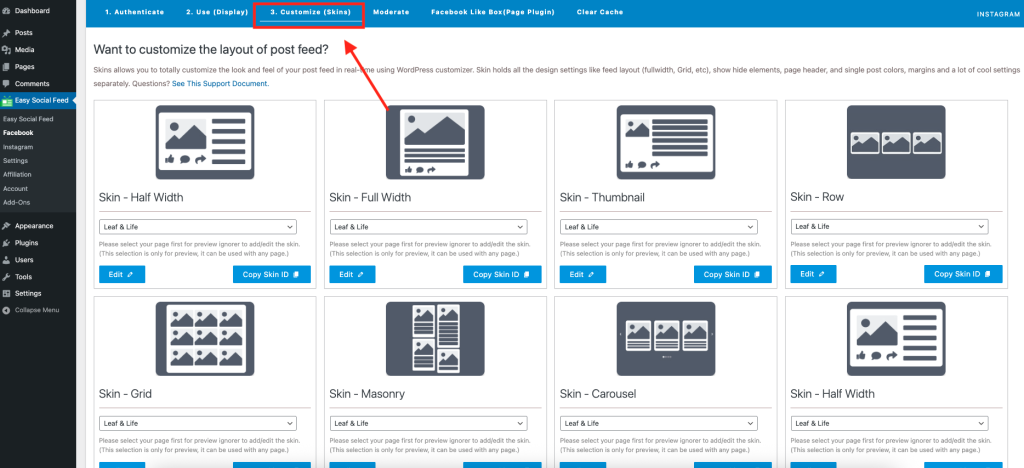
Layout & Customization
This section allows you to control how your feed looks.
Here you can adjust:
- Grid, masonry, carousel layouts
- Number of columns
- Spacing between posts
- Colors and typography
- Header display options
- Button styles
- Responsive behavior
This is where you match the feed to your brand design.
No coding required, everything is visual and user-friendly.
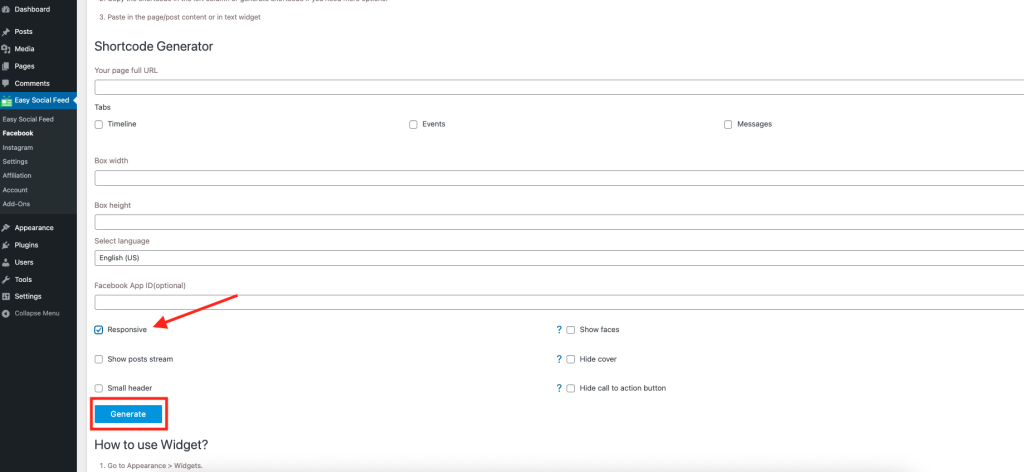
Shortcode Generator
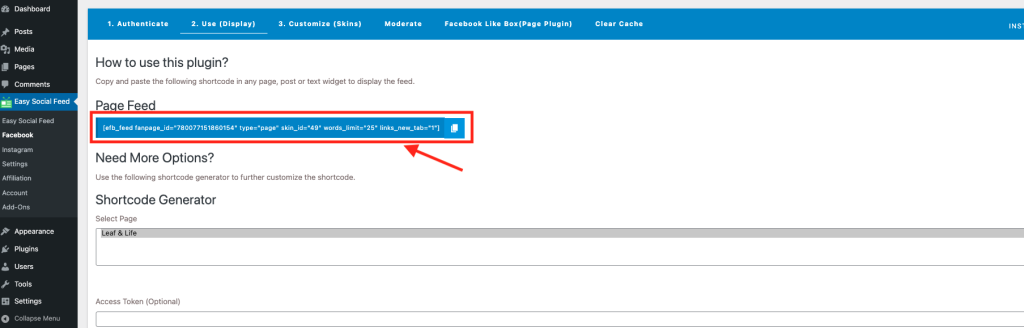
Once your feed is ready, you’ll need to display it on your website.
The Shortcode Generator helps you:
- Generate the correct shortcode
- Copy it easily
- Customize display options before embedding
You can paste the shortcode into:
- Pages
- Posts
- Widgets
- Page builders like Elementor or Divi
Simple and flexible.
Settings Section
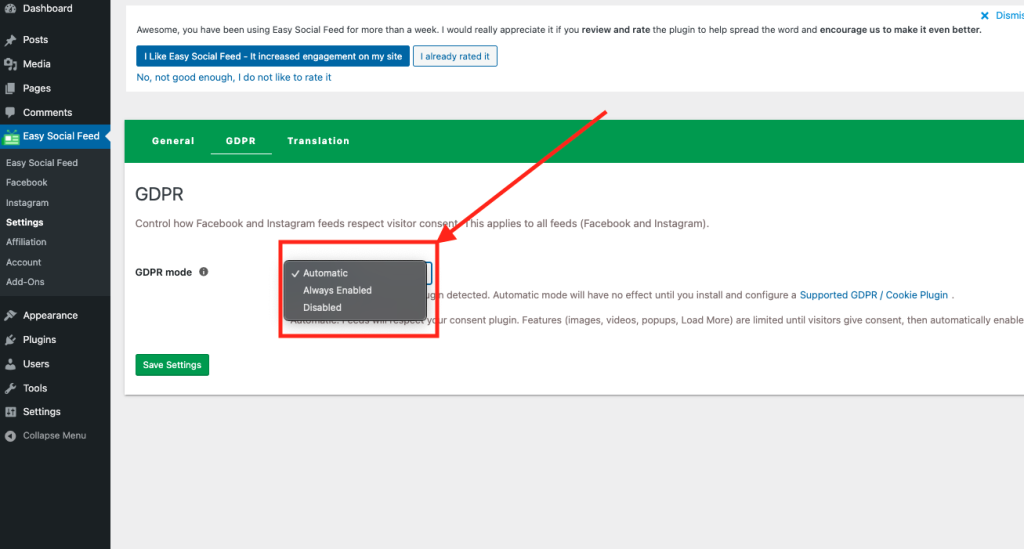
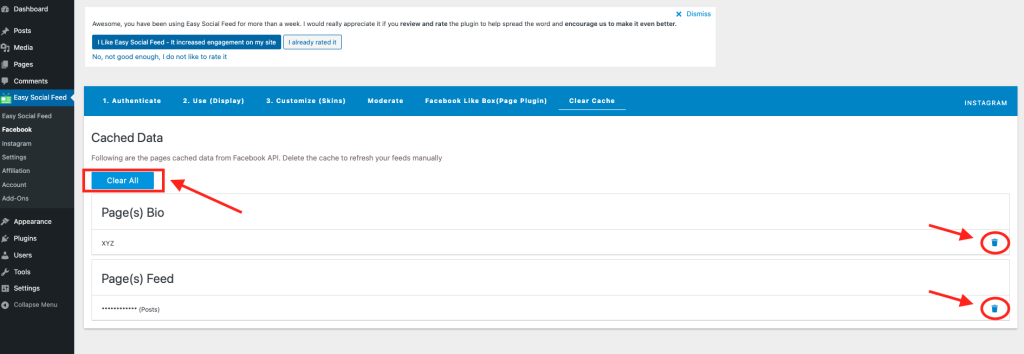
The Settings area controls the plugin’s technical behavior.
Here you can manage:
- Cache settings
- Feed refresh intervals
- Performance options
- Privacy & GDPR compatibility
- General configuration
These settings ensure your feeds load fast and remain stable.
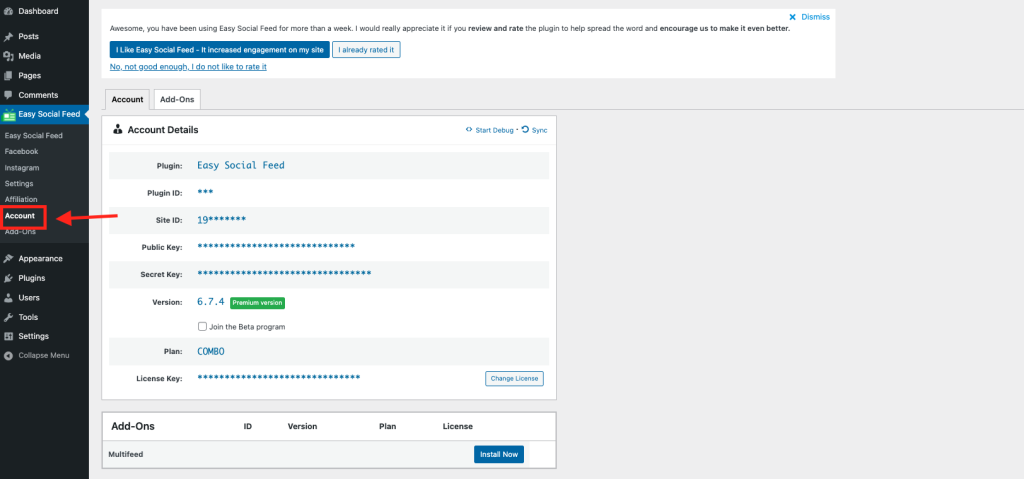
License Section (Pro Version Only)
If you’re using Easy Social Feed Pro, this section allows you to:
- Enter your license key
- Activate Pro features
- Check license status
- Manage renewals
Always make sure your license is active to receive updates and support.
How the Dashboard Makes Everything Easy
The Easy Social Feed dashboard is designed to be:
- Beginner-friendly
- Organized and structured
- Visually clean
- Easy to navigate
- Powerful without being overwhelming
Even if you’ve never used a social feed plugin before, you can confidently manage everything from one place.